 Bellingham Roofing
 Building New in Sudden Valley Comes With Its Own Window Checklist
Sudden Valley sits along Lake Whatcom southeast of Bellingham, and it's still an active area for new home construction — infill lots, teardown-rebuilds, and custom homes going up among established properties. If you're framing a new house or working with a builder on one, the window package is one of the few systems that has to be right the first time. Windows go in during the shell stage, get buried under siding and trim, and then live behind drywall and paint for decades. A mistake in the rough opening, the flashing, or the fastening schedule doesn't show up as a problem on day one — it shows up as a stain on a wall or a soft spot in a sill three or five years down the road, long after the framing crew has moved on to the next job.
We install new-construction windows for builders and homeowners throughout the Bellingham area, including Sudden Valley, and we treat this as a separate skill set from window replacement. The products are different, the installation sequence is different, and the inspection expectations are different. This page covers what that job actually involves and what to look for whether you're a homeowner managing your own build or working alongside a general contractor.
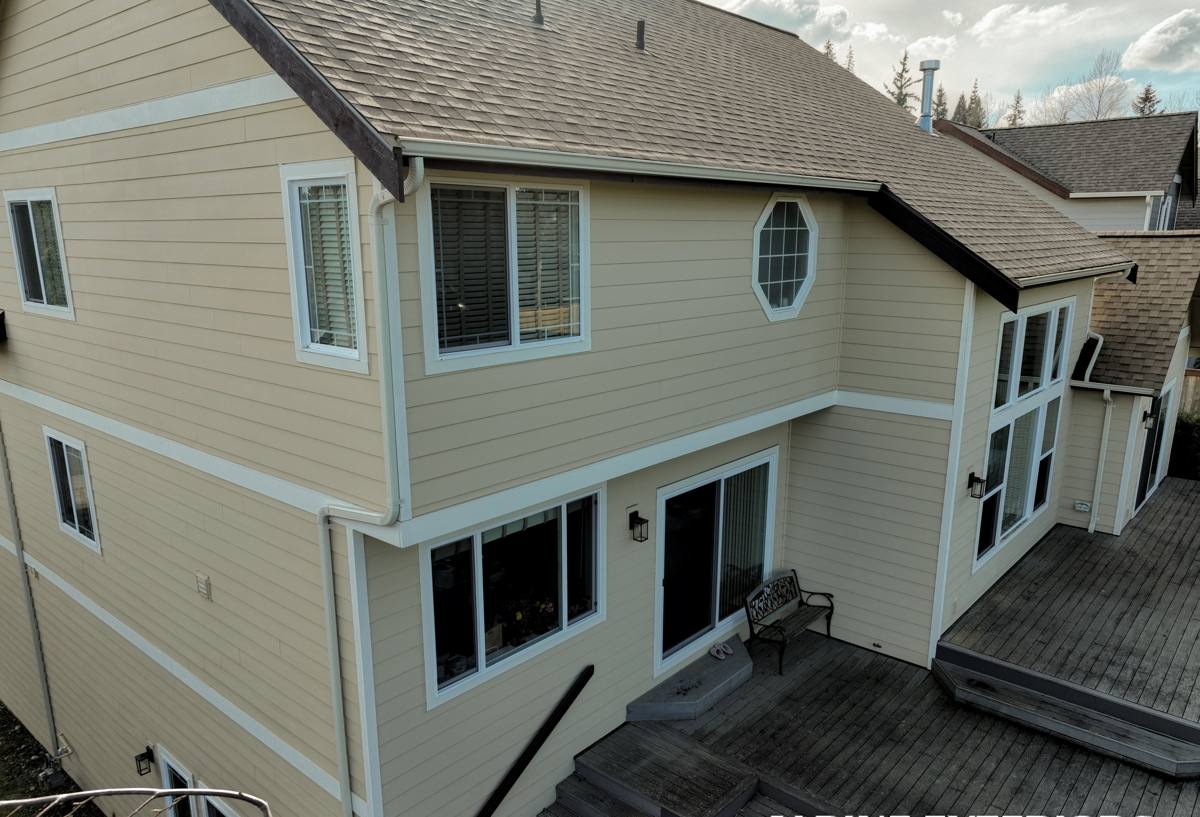
What Bellingham's Climate Does to a New Window Install
Whatcom County's weather is the reason new-construction window work here isn't a copy-paste of what a contractor might do in a drier climate. Driving rain off the water, long stretches of overcast humidity, and salt-laden air moving in off Bellingham Bay all put real stress on exterior openings, and a lot of that stress ends up concentrated right at the window frame if the flashing and sealant details aren't done correctly.
Sudden Valley adds its own layer to that. It's a heavily wooded, lakeside community, and that tree canopy means less direct sun on north- and east-facing walls, slower drying times after storms, and a long moss season that coats roofs, trim, and anything else that stays damp and shaded for weeks at a stretch. None of that is a problem for a window that's flashed and sealed correctly. It becomes a serious problem for one that isn't, because moisture that gets behind the frame in a shaded, humid microclimate like this has far less chance to dry out before it starts doing damage to sheathing and framing.
Why This Matters More at the New-Construction Stage
On a replacement job, we're working with an opening that's already proven itself one way or another for years. On new construction, there's no track record yet — the flashing sequence we install now is what determines whether that opening stays dry for the next 30-plus years. That's a lot of pressure on a detail that takes an extra twenty minutes to do right and is invisible once the siding goes on.
What a Correct New-Construction Window Job Actually Involves
Rough Opening and Flashing
Every window install starts with the rough opening being framed to the manufacturer's specified dimensions, square and plumb, before we ever set a unit. From there, the flashing sequence follows a shingle-lap logic — sill pan first, then the window, then jamb flashing, then head flashing — so that any water that does find its way to the opening is directed back out over the layer below it rather than behind it. Skipping the sill pan, or flashing out of sequence, is one of the most common causes of hidden rot in newer homes, and it's not something you can spot from the outside once the siding is on.
Nailing Fin vs. Block Frame Installation
New-construction windows are typically set one of two ways: nailing-fin units that fasten directly to the sheathing before the weather-resistive barrier and siding go on, or block-frame units that get set into a finished rough opening later in the process. Which approach fits depends on the wall assembly and the builder's sequencing. Both are legitimate methods; what matters is that the fastening schedule matches the manufacturer's requirements and the flashing integrates cleanly with the house wrap or building paper either way.
Sealing and Insulation
The gap between the window frame and the rough opening needs to be insulated without being overpacked — too much expanding foam can bow a frame and cause operating problems down the line. Backer rod and sealant at the exterior perimeter, done with a compatible sealant that won't degrade in UV and damp exposure, is what keeps wind-driven rain from tracking in around the frame edges.
Energy Code Compliance
Washington's state energy code sets minimum U-factor and solar heat gain requirements for new construction, and those numbers get checked at inspection. We size glass packages to meet code for the home's orientation and window-to-wall ratio before installation, not after, so there's no surprise at the inspection stage.
Choosing Window Materials for a Lake-and-Tree Setting
Material choice on a new build comes down to how the product handles sustained moisture exposure and shade, how much upkeep the homeowner is realistically willing to do, and how it fits the home's design. There's no single right answer — it's a trade-off table.
| Frame Material | Moisture Tolerance | Maintenance | Typical Fit |
|---|---|---|---|
| Vinyl | Good — won't rot; seal quality matters most | Low — no painting required | Cost-conscious builds, rentals, standard openings |
| Fiberglass | Very good — dimensionally stable in wet/dry cycling | Low | Larger openings, energy-code-driven projects |
| Wood-clad | Good on the exterior clad face; interior wood needs protection from condensation | Moderate — interior finish upkeep | Custom homes wanting a wood interior look |
| Aluminum | Fair — conducts cold, condensation risk without thermal break | Low | Large lake-view slider/window walls with a thermally broken frame |
For a lake-view wall of glass, which is common on Sudden Valley builds taking advantage of the setting, frame stiffness and a proper thermal break matter as much as the glass itself — a wide span of glass without adequate structural support in the frame can develop operating and sealing problems over time.
Coordinating With Your Builder and Timeline
When Windows Actually Go In
Windows typically get set right after the home is framed and sheathed, before the weather-resistive barrier is fully lapped and before siding starts. That timing matters — installing too early means working around incomplete wall assembly details, and installing late holds up the entire exterior finish schedule.
Working With Your General Contractor
On most new builds we're one trade among several, and the job goes smoothly when the sequencing is communicated clearly ahead of time — who's supplying the units, who's responsible for the rough openings being correct, and who's flashing what. We're happy to work directly with a homeowner's GC and confirm those handoff points before we're on site, so nobody's guessing on install day.
Permits and Inspections
New-construction window installs get reviewed as part of the building permit process, and inspectors are checking flashing, fastening, and energy code compliance — not just that a window is sitting in the opening. We install to pass that inspection the first time, since a failed inspection on windows usually means pulling siding back off to fix it.
Working Within Sudden Valley's Design Guidelines
If your lot falls under a community association or architectural review process, exterior elements including window style, trim, and sometimes glazing appearance may need approval before installation. We're glad to work from whatever design guidelines apply to your property and size the window package around those requirements rather than treating it as an afterthought once approval is already in hand.
Our Process for New-Construction Window Installs
The process stays consistent whether we're brought in directly by a homeowner or working under a GC:
- Review plans and confirm window schedule, sizes, and egress requirements before ordering
- Verify rough openings match manufacturer specs before any unit is set
- Install sill pan flashing and follow proper shingle-lap sequencing with the house wrap
- Set units plumb, level, and square, with fastening per manufacturer spec
- Insulate the perimeter gap without overpacking, then seal the exterior with a compatible sealant
- Confirm energy code glass specs match what was ordered before drywall closes the opening in
- Walk the job with the builder or homeowner before siding covers the flashing details
Why a Crew That Already Works Sudden Valley Matters
New-construction window work isn't complicated in theory, but it's unforgiving of shortcuts, and Sudden Valley's tree cover, lake humidity, and long wet season leave very little margin for a flashing detail done halfway. A crew that's worked builds in this specific setting has already seen how these homes dry out, where shade holds moisture longest, and what the inspectors in this area are actually checking for — rather than treating every job as a generic install and hoping the details hold up. That's the difference between windows that are still performing well in twenty years and ones that quietly start failing behind the siding in five.
If you're planning a new build or mid-construction in Sudden Valley and want to talk through your window package, we're happy to take a look at your plans and put together a straightforward, no-pressure estimate — just fill out the form below.