 Bellingham Roofing
 New-Construction Windows: Built Into the Wall, Not Squeezed Into It
A new-construction window is a different product from the replacement windows most homeowners are familiar with. It has a nailing fin — a flat flange around the perimeter of the frame — that gets fastened directly to the wall sheathing before the weather-resistive barrier and siding go on. That fin, and how it's integrated with the flashing behind it, is what actually keeps water out of the wall over the next few decades. Replacement windows, by contrast, get set into an existing opening with the old exterior trim left mostly intact, which is a fine approach for a straightforward swap but isn't what you want for a true new build, an addition, or a project where the siding is coming off anyway.
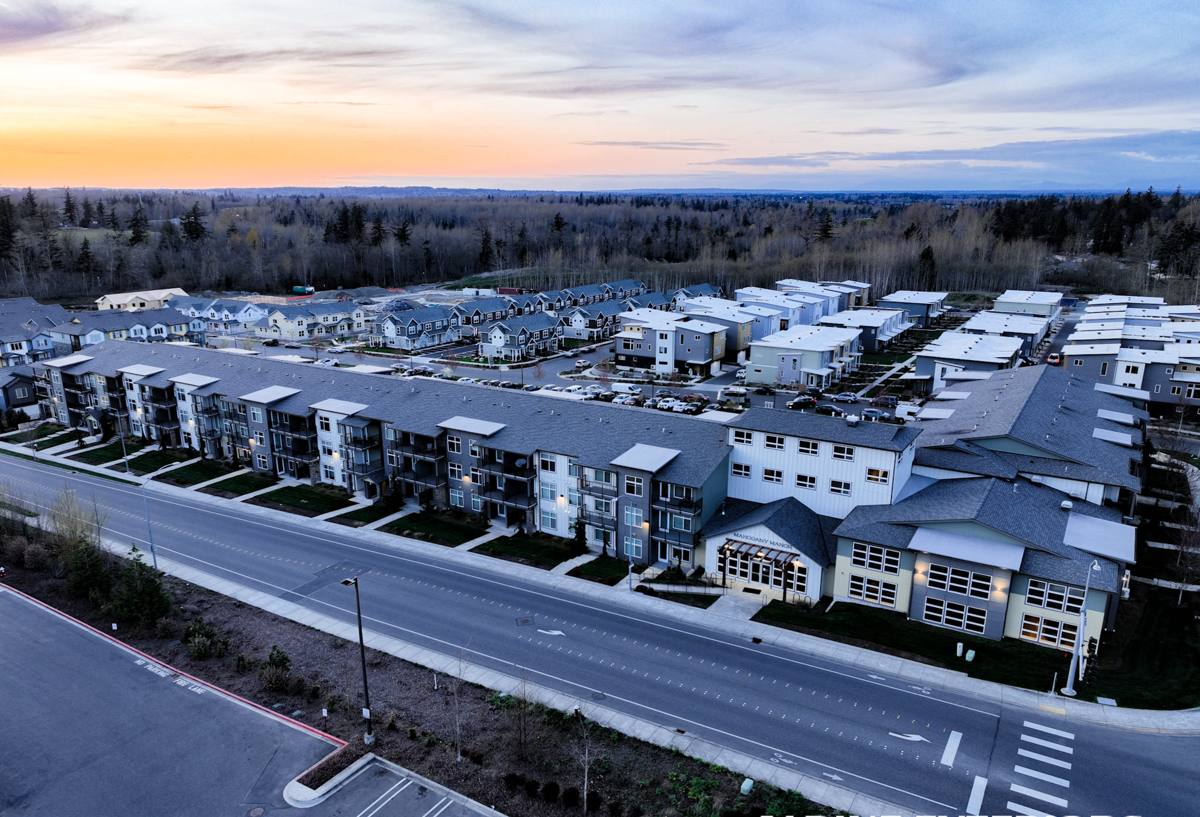
In Happy Valley, we see all three situations regularly: new home construction, room additions and bump-outs on older houses, and full siding tear-offs where opening up the wall makes a new-construction window the smarter long-term choice over a pocket replacement. The neighborhood has a mix of housing ages and styles, and the right window approach depends on what's actually happening to the wall, not just what generation of window you're buying.
Why Bellingham's Marine Climate Changes the Installation Standard
Windows fail less often because of the glass and more often because of what happens around the frame. Bellingham sits right on the water, and that shapes three things every new-construction window install here has to account for.
Salt Air and Hardware Corrosion
Air off Bellingham Bay carries salt content that accelerates corrosion on unprotected fasteners, hinges, and cranks over time. It's not dramatic — it's slow, cumulative wear that shows up as stiff locks, pitted hardware, and streaking on frames after a decade or two. Stainless or coated fasteners and hardware rated for coastal exposure cost a little more up front and are worth it here.
Driving Rain and Flashing
Storms in this part of Whatcom County frequently come in sideways, not straight down. Wind-driven rain finds any gap in the flashing sequence and pushes water uphill and sideways behind trim and siding — ordinary gravity-based assumptions about "water runs down and out" don't hold. That's why the flashing detail at the head, jambs, and especially the sill of a new-construction window matters more here than in a drier, calmer climate.
Moss, Algae, and Prolonged Moisture Exposure
Our wet season runs long, and shaded, north-facing, or tree-covered walls in Happy Valley stay damp for extended stretches. That moisture supports moss and algae growth on trim and siding, and it keeps any hidden leak active longer than it would be in a climate that dries out between storms. A window opening that isn't properly flashed doesn't just get wet occasionally — it can stay wet for weeks, which is exactly the condition that leads to rot and mold inside a wall cavity.
What a Correct New-Construction Window Installation Involves
There's no shortcut version of this that holds up under our weather. The sequence matters as much as the window itself:
- Rough opening check. Confirm the opening is square, level, and sized correctly before the window ever shows up on site.
- Sill pan flashing. A sloped, self-sealing pan under the sill gives any water that gets past the window a way out instead of a place to pool.
- Weather-resistive barrier integration. The house wrap or building paper has to be cut, lapped, and taped so water sheds over the top of the window, never behind it.
- Window fastening. The unit gets set, shimmed plumb and square, and fastened through the nailing fin per the manufacturer's schedule — not just where it's convenient.
- Head, jamb, and sill flashing tape. Applied in the correct shingle-lap order — sill first, then jambs, then head — so every layer overlaps the one below it.
- Insulation and air sealing. Low-expansion foam or backer rod around the interior perimeter stops drafts and condensation without bowing the frame.
- Exterior sealant and trim. Backer rod and a compatible sealant close the final gap, followed by trim or siding tie-in.
Skip or rush any one of those steps and the window can look perfect from the curb while quietly failing behind the wall. Most of the leaks we get called out to inspect trace back to one missed step in this sequence, not a defective window.
Frame Material Options for Happy Valley New Construction
All three main frame materials can perform well here if they're installed correctly — the real differences are in maintenance, longevity, and how they age against salt air and constant moisture.
| Frame Material | Moisture & Salt Air Resistance | Maintenance | Typical Lifespan |
|---|---|---|---|
| Vinyl | Good — won't rot or corrode, but can discolor over many years | Low — occasional cleaning | 20–30 years |
| Fiberglass | Excellent — very stable, resists warping and corrosion | Low | 30–40+ years |
| Wood-clad | Good exterior protection, but the wood core is vulnerable if the exterior clad or seals fail | Higher — exterior clad needs monitoring, interior wood may need refinishing | 20–30 years, dependent on maintenance |
We install and work with multiple manufacturers across all three categories. Our standard is the same regardless of which one a homeowner chooses: correct flashing, correct fastening, and hardware that's rated for exposure to salt-laden coastal air. We're not tied to pushing one brand — the installation quality is what determines whether any of these products actually perform for 20-plus years.
Our Process for Happy Valley New-Construction Window Projects
New construction and additions come with more coordination than a simple swap, so our process is built around that:
- Site visit and measure. We look at the rough openings, wall assembly, and any site-specific exposure — how much wind and driving rain a given wall actually takes, and whether it sits in a damp, shaded spot common to parts of Happy Valley's tree-covered lots.
- Written scope and product selection. We walk through frame material, glass package, and hardware options based on the wall's exposure, not a one-size-fits-all recommendation.
- Coordination with your builder or GA. On new builds and additions, we work directly with your general contractor's schedule so windows go in at the right point in the framing sequence — not too early, not after the WRB is already closed up wrong.
- Installation to the full flashing sequence. No shortcuts on sill pans, tape laps, or fastening schedules, regardless of how tight the framing schedule is.
- Final walkthrough. We check operation, sealant lines, and trim fit with you before calling the job done.
Common Mistakes We See — and Why Local Experience Matters
A crew that mostly works inland or in drier climates can install a technically fine window and still get the details wrong for a coastal Whatcom County wall. The mistakes we run into most often on inspections and callbacks are the same handful, over and over:
- Sill pan flashing skipped or installed flat instead of sloped to drain.
- Flashing tape applied out of shingle-lap order, so water gets directed behind a layer instead of over it.
- Standard fasteners used in place of corrosion-resistant hardware on exposed elevations.
- Sealant used as the primary water barrier instead of as the last line of defense behind proper flashing.
- Windows fastened before the WRB integration is finished, leaving gaps that get covered up by siding.
None of these show up as a problem on install day. They show up two, five, or ten winters later as a stain on an interior sill or soft trim outside — right about the time it's expensive to fix. Crews who install windows here regularly, in this weather, tend to build these details into habit rather than treating them as optional extras.
What New-Construction Windows Cost in Happy Valley
Pricing depends on more than the window unit itself. Here's what actually moves the number on a new-construction install:
| Cost Factor | Why It Matters |
|---|---|
| Frame material | Vinyl generally costs less up front than fiberglass or wood-clad |
| Window size and glass package | Larger units, tempered glass (required near doors/low sills), and upgraded Low-E coatings add cost |
| Number of openings | Per-window cost typically drops as the total order grows |
| Wall exposure | High-exposure walls may call for upgraded flashing details or hardware |
| New build/addition vs. tear-off retrofit | Coordinating with open framing is more straightforward than opening up finished siding |
| Site access | Sloped lots or tight access common in parts of Happy Valley can add labor time |
Most residential new-construction window projects run from a few thousand dollars for a small addition up into the tens of thousands for a full new build with many openings — the range is wide because the scope varies that much. We give a firm, itemized quote after seeing the actual openings and wall conditions, not a number pulled from a national average.
Keeping New Windows Performing for the Long Haul
A correctly installed window still needs basic upkeep in this climate to reach its full lifespan:
- Rinse frames and tracks periodically to clear salt residue and grit before it builds up in hardware.
- Check exterior sealant lines yearly for cracking or gaps, especially after a hard winter.
- Keep gutters and downspouts clear so roof runoff isn't dumping extra water directly onto window heads.
- Trim back vegetation that keeps a wall shaded and damp longer than necessary.
- Operate locks and cranks a few times a season so hardware doesn't seize from disuse.
- Watch for soft trim, peeling paint, or interior staining near sills — early signs worth a quick look before they become bigger repairs.
If you're planning new construction, an addition, or a siding project in Happy Valley and want windows installed to hold up against what this climate actually throws at a wall, we're glad to take a look and put together a straightforward, no-pressure estimate. Use the form below to get started.