 Bellingham Roofing
 Siding Repair in Columbia: A Different Kind of Wear
Columbia sits close enough to Bellingham Bay that homes here take on a specific mix of weather stress you don't see the same way further inland in Whatcom County. Salt-laden air off the water, wind-driven rain that comes in sideways during winter storms, and a moss season that can stretch for months all work on exterior siding at the same time, from different directions. A siding repair here isn't just patching a hole — it's understanding why that spot failed in the first place, so the same failure doesn't show up again twelve feet down the wall next year.
Columbia's housing stock is a mix of older homes and newer construction, which means we're often repairing several different siding materials on the same block. What every one of them has in common is that the north- and west-facing walls, and anything under an eave line or near ground contact, take the worst of it.
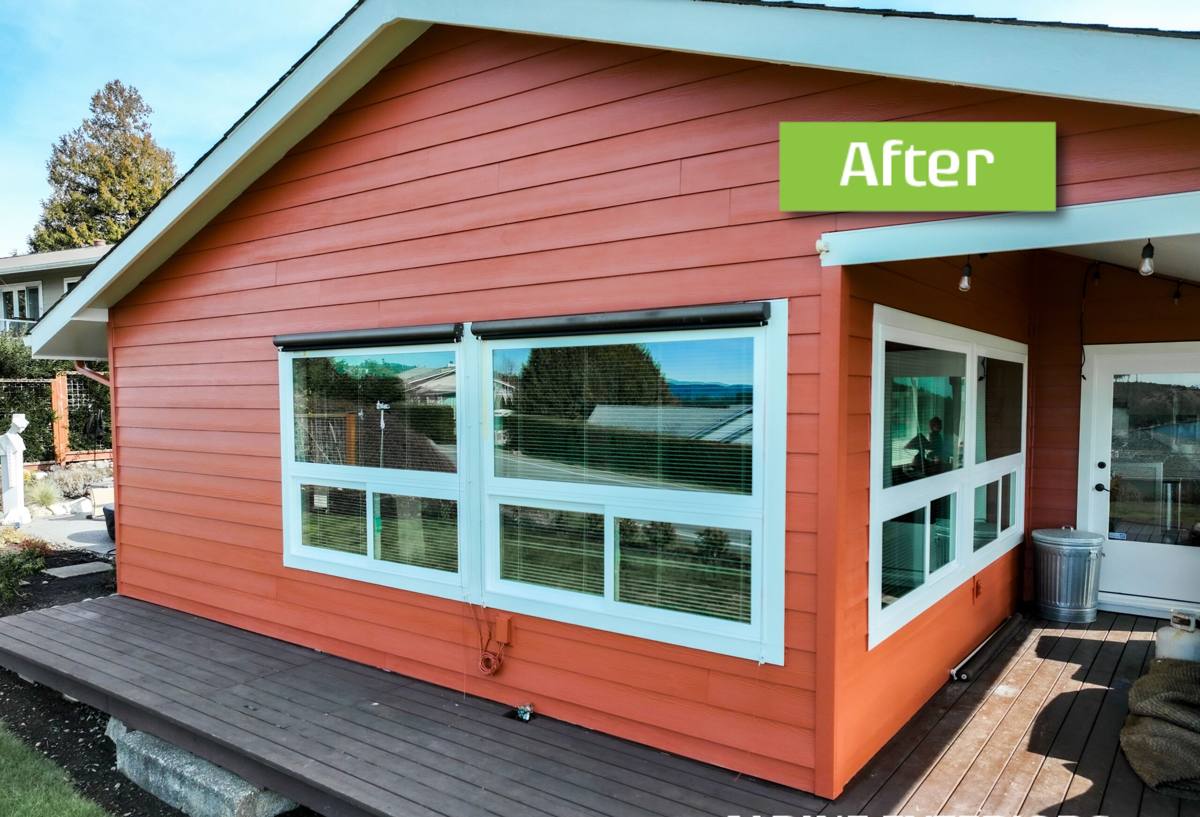
What Salt Air, Rain, and Moss Actually Do to Siding
Salt Air
Proximity to the bay means airborne salt settles on exterior surfaces even on dry days. On wood-based siding, that salt draws moisture into the surface and accelerates the breakdown of paint film and the wood fibers underneath. On fasteners and trim, it speeds up corrosion — a rusted nail head or a corroded J-channel is often the first visible sign of a problem that's been building for a while.
Driving Rain
Bellingham's winter storms don't just fall straight down — wind pushes rain sideways and up under laps, trim, and butt joints that were never designed to shed water from that angle. Once water gets behind a siding panel, it doesn't dry out quickly in our climate. It sits, and it works on whatever it's touching: sheathing, framing, insulation.
Moss and Sustained Dampness
Whatcom County's moss season isn't a cosmetic issue by the time it reaches siding — it's a sign of a wall that stays damp longer than it should. Moss and algae hold moisture against the surface, block airflow, and on materials that aren't dimensionally stable, contribute to swelling, cupping, and paint failure. Shaded, low-airflow walls — common on lots with mature trees or tight side-yard setbacks — are usually the first to show it.
Signs Your Siding Needs Repair
- Soft, spongy, or crumbling spots when pressed — usually a sign of trapped moisture, not just surface wear
- Paint that's peeling, bubbling, or failing in the same spots repeatedly, even after repainting
- Visible gaps, cracks, or separation at butt joints, corners, or around windows and doors
- Streaking, dark staining, or persistent moss and algae growth that comes back after cleaning
- Warped, bowed, or buckled panels, especially on shaded or north-facing walls
- Rusted or popped fasteners, or trim pulling away from the wall
- A musty smell or visible staining on interior walls near an exterior wall — often the first indoor sign of a siding problem
Any one of these can be a localized fix. Several of them together, especially on the same wall, usually mean water has been getting behind the siding for a while and the repair needs to start with finding out how.
What a Correct Siding Repair Actually Involves
The visible damage is rarely the whole story. A repair that only replaces what's cracked or stained, without checking what's underneath, tends to fail again in the same spot within a season or two. Here's what we actually check before we call a repair done:
Diagnosing the Water Path
Before we cut anything out, we trace how water is getting in — a failed caulk joint, a missing kick-out flashing, a butt joint with no gap for movement, or house wrap that wasn't lapped correctly during the original install. Replacing the siding without fixing the entry point just delays the next repair.
Checking What's Behind the Siding
Once a section is opened up, we look at the sheathing, house wrap or building paper, and framing. If there's rot or sustained moisture damage back there, that gets addressed before anything new goes back on — patching over compromised sheathing is a short-term fix that costs more later.
Matching Material and Profile
A repair should be close to invisible. That means matching the plank width, texture, and reveal of the existing siding, and getting the finish color close enough that a patched section doesn't stand out. This is far easier — and far more consistent — on a factory-finished material than on anything that relies on field-applied paint to match.
Flashing and Trim Details
Repairs are also the right time to correct the small details that caused the failure: adding or replacing flashing above windows and doors, re-caulking joints with the right product, and making sure trim sheds water instead of trapping it.
Repair or Replace? What We Actually Look At
| Factor | Points Toward Repair | Points Toward Replacement |
|---|---|---|
| Extent of damage | Isolated to one or two walls or sections | Spread across most of the exterior |
| Underlying sheathing | Sound, dry, no rot found | Rot or moisture damage found in multiple areas |
| Age of existing siding | Newer, still within expected service life | Original siding decades old, at or past its lifespan |
| Material match | Can be closely matched for an invisible repair | Product discontinued or no longer manufactured |
| Recurring failures | First time seeing this issue on this wall | Same wall has failed and been patched before |
Most of the time, a well-targeted repair is the right call and the more cost-effective one. But when the damage keeps recurring on the same walls, or the sheathing behind it is compromised in more than one spot, patching becomes a pattern of spending money on the same problem every couple of years instead of solving it once.
Our Siding Repair Process
- On-site assessment. We inspect the affected areas, check moisture readings where relevant, and look at the walls that typically take the worst weather — north- and west-facing exposures and anything under an eave or near grade.
- Honest scope and estimate. We tell you plainly whether this is a repair or heading toward a replacement conversation, and what we found that's driving the recommendation.
- Careful removal. Damaged material comes out without unnecessarily disturbing sound siding around it.
- Address the cause. Any compromised sheathing, missing flashing, or failed water barrier gets corrected before new material goes back on.
- Install and finish. New siding is fit, fastened, and finished to match the surrounding wall as closely as possible.
- Final check. We walk the repair with you before we consider the job done.
Why We Repair and Replace Only With James Hardie Fiber Cement
We install James Hardie fiber cement exclusively — we don't work with vinyl, LP SmartSide, Cemplank, Allura, or unprimed wood siding like spruce or cedar. That standard matters just as much for repairs as it does for full installs. When we're patching a section of Hardie, we're working with a non-combustible, dimensionally stable material that isn't going to swell, cup, or warp the way some wood-based products can after sustained moisture exposure — which matters directly in a climate with a moss season this long.
Hardie's factory-applied ColorPlus finish also makes repairs more consistent: matching a small patched section to surrounding siding is far more predictable with a factory finish than with field-painted material, where color and sheen can drift over time. And because Hardie's HZ5 product line is engineered for wet, coastal-influenced climates like ours, a repair done in Hardie holds up the same way the original installation was designed to — it isn't a compromise patch, it's the same system doing what it's built for.
We're upfront that this means we won't match every existing siding material out there with an identical patch, especially older or discontinued products. In those cases we'll tell you honestly what your options are — a close-enough match, a larger repair scope, or eventually transitioning the wall to Hardie — rather than installing something we don't stand behind just to save a step.
Why a Crew That Already Works Columbia Matters
Siding repair done right depends on knowing what actually causes failures in this specific setting — not a generic checklist, but the real pattern of salt exposure, wind-driven rain direction, and moss growth that shows up on Columbia's mix of older and newer homes. A crew that regularly works this neighborhood already knows which wall orientations tend to fail first, which older siding types are common here and how to handle a repair on them responsibly, and how local permitting and inspection expectations apply to exterior repair work in Whatcom County. That familiarity shows up in fewer surprises once a wall is opened up, and in repairs that are diagnosed correctly the first time instead of guessed at.
Get a Straight Answer About Your Siding
If you're seeing soft spots, recurring paint failure, or moss that keeps coming back on the same wall, it's worth having someone take a look before it becomes a bigger repair. We offer free, no-pressure estimates for homes in Columbia and throughout the Bellingham area — we'll tell you honestly whether you're looking at a targeted repair or something more, and why.