 Bellingham Roofing
 Building New in Sunnyland? The Window Install Has to Be Right the First Time
If you're framing an addition, building a new home, or finishing out a shell in the Sunnyland neighborhood, the window install is one of the few steps in the whole project that you don't get a second chance at. Once siding, trim, and interior finish go on, a poorly flashed or poorly sealed window becomes a hidden problem — one that usually doesn't show itself until a wall cavity has been wet for a season or two. In a Bellingham winter, that's not a hypothetical. It's what happens when the sequencing gets rushed.
New-construction window work is different from swapping out an old window in an existing wall, and it's worth understanding why before you hire anyone to do it.
New Construction vs. Replacement Windows
A new-construction window has a nailing fin around its perimeter that gets fastened directly to the sheathing, then integrated into the water-resistive barrier (WRB) and flashing system before siding goes on. A replacement window, by contrast, fits inside an existing frame with no fin, relying on the old frame and trim for weatherproofing. The two products are installed in almost opposite sequences, and the skills don't fully overlap. A crew that's excellent at replacement work isn't automatically equipped to flash a new-construction opening correctly — and the reverse is also true. For a Sunnyland build, you want a crew that does new-construction flashing regularly, not occasionally.
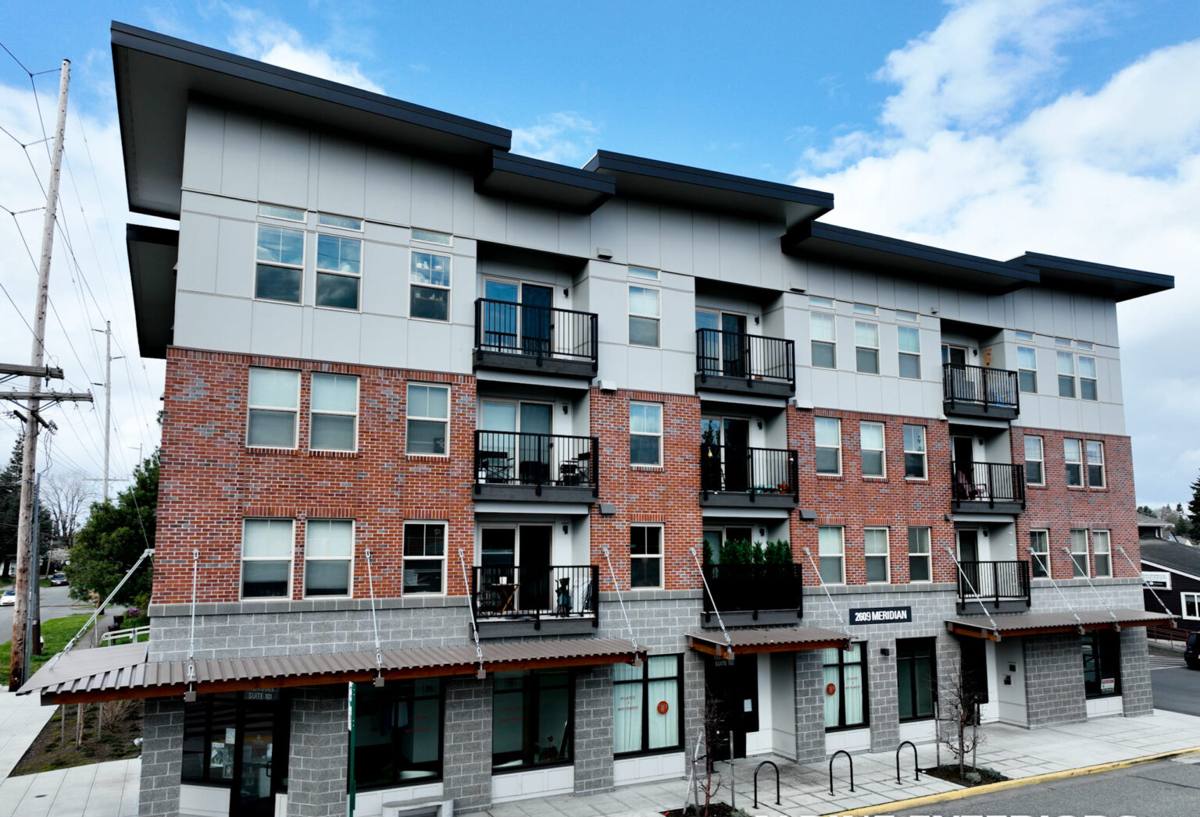
What Whatcom County Weather Does to a New Window Install
Sunnyland sits close enough to Bellingham Bay and the Salish Sea that salt-laden air is a real factor on hardware and finishes, and it's paired with the rain patterns that define construction here from October through May. Get the install wrong, and the climate finds the mistake fast.
Salt Air and Coastal Exposure
Marine air carries fine salt that accelerates corrosion on exposed fasteners, hinges, and lower-grade hardware. It's not dramatic — it's slow, and it shows up years later as pitted screws, stiff operating hardware, or streaking at the sill. The fix isn't complicated: use fasteners and hardware rated for coastal or corrosive environments, and don't leave galvanized-only fasteners exposed where they'll take direct weather.
Driving Rain and Wind-Driven Moisture
Whatcom County storms don't just drop rain straight down — wind pushes it sideways into wall assemblies, especially on exposed elevations. A window opening is the single most likely place in a wall for wind-driven rain to find a gap, because it's a hole in the sheathing with multiple seams (fin, jamb, sill, head flashing) that all have to shed water in the right order. One reversed flashing lap is enough to let water track behind the WRB.
Moss, Shade, and Trapped Moisture
Sunnyland's tree cover and the region's long wet season together create the conditions moss thrives in — shade plus sustained dampness. Moss itself doesn't damage a window, but it's a sign of an assembly that's staying wet longer than it should, whether that's a sill that doesn't slope enough to drain or trim details that trap standing water against the frame. Good sill design and drainage planning at install time keep moss (and the moisture behind it) from becoming a long-term maintenance headache.
What a Correct New-Construction Window Installation Involves
The window unit itself is only part of the job. The flashing and drainage details around it do most of the work of keeping water out over the life of the house.
Flashing and WRB Integration
Flashing has to be layered so every piece overlaps the one below it — sill flashing first, then jamb flashing, then head flashing, with the water-resistive barrier lapped over the top in the same shingle-style order. This "water always drains onto the layer below it" sequence is the single most important detail in the entire install, and it's also the easiest one to get backwards under schedule pressure.
Sill Pans and Sloped Sills
A sill pan creates a dedicated drainage plane under the window that directs any moisture that does get past the frame back out to the exterior instead of into the framing below. On a wall type that sees the rain volume Whatcom County does, we treat a sloped sill pan as standard practice, not an upgrade.
Nailing Fin Fastening and Sealant
Fins get fastened per the manufacturer's schedule — skipping fastener locations to save time is a common shortcut that shows up later as air and water infiltration at the corners. Sealant is used at specific points in the assembly (never as a substitute for correct flashing laps), because sealant alone breaks down under UV and movement long before flashing does.
Choosing Window Frame Materials for a Sunnyland Build
Frame material affects how a window handles this climate's combination of rain, salt air, and temperature swings. There's no single right answer — it depends on your budget, the home's style, and how much upkeep you want to take on.
| Frame Material | Moisture / Coastal Performance | Maintenance | Typical Cost Position |
|---|---|---|---|
| Vinyl | Good — won't rot or corrode; seams are the main weak point if welding quality is low | Low | Lower |
| Fiberglass | Very good — dimensionally stable, handles the wet/dry cycle well | Low | Mid to upper |
| Wood-clad | Good if cladding and finish are maintained; interior wood needs protection from any leaks | Higher | Upper |
| Aluminum | Prone to condensation and thermal transfer without a thermal break; can corrode near salt air over time | Moderate | Varies |
For most Sunnyland builds, we steer clients toward vinyl or fiberglass for their balance of moisture tolerance and low upkeep, and we're upfront when a client's design calls for wood-clad or aluminum about the added maintenance commitment that comes with it. None of these are wrong choices — they're trade-offs, and we'd rather you make that trade-off with full information than find out about it later.
Our New-Construction Window Process
- Plan review and rough opening verification — we confirm rough openings match ordered unit sizes before anything is installed, catching framing discrepancies while they're still cheap to fix.
- Sill pan and flashing prep — sill pans are set and sloped, and flashing tape is applied to the rough opening before the window ever goes in.
- Window setting and shimming — units are set plumb, level, and square, and shimmed at the manufacturer's specified points to avoid frame distortion.
- Fastening to schedule — nailing fins are fastened at every specified location, not just the corners.
- Head flashing and WRB lap-in — head flashing goes on last, lapped over the WRB in proper shingle order.
- Sealant and backer rod at interior and exterior joints — applied where specified, not as a blanket fix for gaps.
- Final check — operation, seal, and squareness are verified before we sign off, and before siding crews close the wall.
Why Hire a Crew That Already Works in Sunnyland
Coordinating window install timing with framers, siding crews, and sometimes an inspector is a scheduling problem as much as a technical one. A crew that already works Bellingham job sites knows the local permitting expectations, has a working relationship with the trades you're likely to have on site, and isn't learning Whatcom County's inspection process for the first time on your project. That familiarity translates into fewer callbacks to fix sequencing conflicts and fewer days where your build sits open waiting on a trade that didn't show up in the right order.
It also matters for warranty follow-through. If a window ever needs adjustment or a flashing detail needs a look after a hard winter storm, you want a contractor who's still working in the neighborhood and easy to reach — not one who did a single job in Bellingham and moved on.
A Checklist Before Your Windows Go In
- Rough openings measured and confirmed against ordered window sizes
- Sill pans specified for every opening, with slope toward the exterior
- Flashing sequence agreed on with your general contractor or builder before the WRB goes up
- Frame material chosen with your maintenance expectations in mind, not just upfront cost
- Fastener and hardware specs confirmed for coastal/corrosive-air exposure
- Install timing coordinated with siding crew so openings aren't left exposed longer than necessary
- Manufacturer warranty paperwork and installation instructions kept on file for the build
Common Mistakes We See in New-Construction Window Installs
Most window leaks we're called out to diagnose in older Bellingham-area homes trace back to a handful of repeatable mistakes made during the original install: flashing laps installed in the wrong order, sealant used in place of proper flashing, missing or flat (non-sloped) sill pans, and fastener schedules that got shortened to save time. None of these show up on move-in day. They show up two, five, or ten winters later, after enough driving rain has found the gap. Getting the sequence right the first time is dramatically cheaper than opening up a wall to fix it after the fact.
If you're planning new construction or an addition in Sunnyland and want windows installed the right way from the start, we're happy to walk the plans or the job site with you and give you a straightforward, no-pressure estimate — just fill out the form below.