 Bellingham Roofing
 Why Sudden Valley Windows Wear Differently
Sudden Valley sits in its own microclimate compared to the rest of Bellingham. The community wraps around Lake Whatcom under heavy tree canopy, which means many homes get less direct sun, more standing humidity, and longer-lingering morning fog than properties closer to the water or out in the open. Add in the driving rain that moves through Whatcom County for much of the fall, winter, and spring, plus the salt-tinged marine air that reaches inland from the Sound, and you have a recipe for window components that fail faster than the manufacturer's brochure suggests. Wood rots at the sill, seals break down between panes, and hardware corrodes or seizes up well before a home in a drier climate would show the same wear.
None of this means windows in Sudden Valley are doomed to fail early. It means the installation has to account for the conditions from day one — correct flashing, the right frame material, and sealant work that actually holds up to repeated wet-dry cycles. A window that's simply "put in" versus one that's installed correctly for this climate can be the difference between fifteen trouble-free years and a decade of chasing drafts and soft trim.
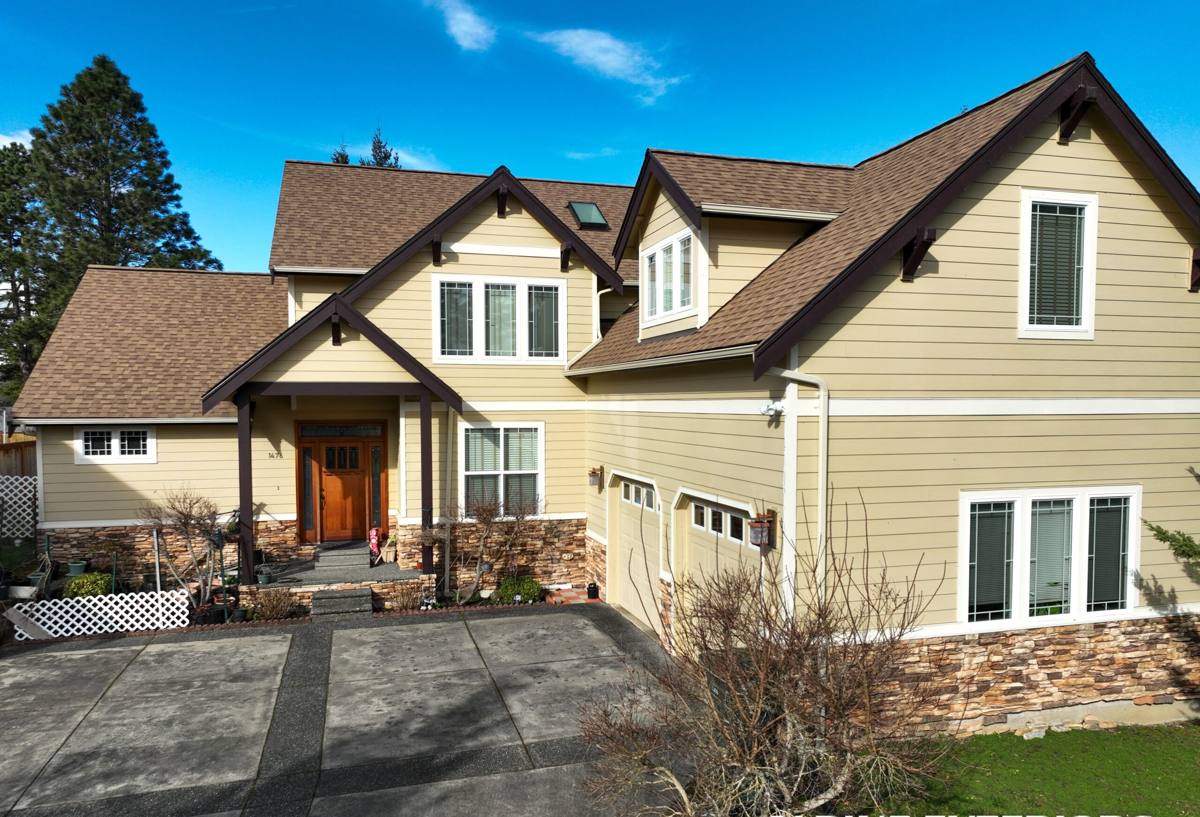
The Moss Season Factor
Whatcom County's moss season is long — often eight months or more when conditions stay damp and shaded. On a roof, moss is a maintenance nuisance. Around windows, it's more serious. Moss and algae take hold on horizontal trim, sills, and anywhere water sits instead of draining. Once organic growth establishes itself against wood trim or under a poorly sealed flange, it holds moisture against the building for weeks at a time, and that's exactly the environment that leads to rot, paint failure, and eventually water intrusion into the wall cavity.
This is one of the biggest reasons a window installed with the wrong slope, missing kick-out flashing, or a sill pan that wasn't part of the original plan will show damage sooner in Sudden Valley than it would in a drier part of the state. Water management details that seem like overkill elsewhere are simply necessary here.
Signs Your Windows Are Ready for Replacement
Homeowners often live with a failing window for years because the symptoms show up gradually. Here's what we look for during an inspection, and what you can check yourself:
- Fogging or a milky haze between the panes of a double- or triple-pane window — the seal has failed and the gas fill is gone
- Windows that are difficult to open, close, or lock, especially after damp weather
- Visible gaps, drafts, or cold spots near the frame when you hold your hand up on a windy day
- Soft, discolored, or spongy wood at the sill or bottom corners of the frame
- Moss, algae, or black staining building up on the sill or lower trim
- Paint that's peeling or bubbling specifically around the window, not the rest of the siding
- Noticeably higher heating bills in a home that hasn't changed its usage habits
- Condensation forming on the inside of the glass regularly, even with normal ventilation
One or two of these on a single window is usually a repair situation. Several windows showing the same symptoms, or one window showing multiple symptoms at once, is typically a sign the unit has reached the end of its useful life.
What a Correct Installation Actually Involves
Flashing and Water Management
The window itself is only part of the system. Proper installation means integrating flashing tape or a sill pan with the home's existing weather-resistive barrier so water is directed out and away from the framing, not trapped behind the new window. In a climate with this much sustained rainfall, skipping or shortcutting this step is where most long-term failures start — and it's invisible once the trim goes back on, which is why it matters who's doing the work.
Insulation and Air Sealing
The gap between the window frame and the rough opening needs to be filled with the right material — typically a low-expansion foam designed for windows, not a generic gap filler that can bow the frame out of square. Done correctly, this step eliminates drafts and stops moist interior air from condensing inside the wall cavity, which is a common source of hidden rot.
Sealants and Finish Work
Exterior caulking has to be applied to the right joints — and only the right joints. Some seams need to stay open as weep points so any water that does get behind the trim can drain back out. Sealing every gap shut sounds thorough, but in a wet climate it can trap moisture instead of releasing it. This is a detail that separates an experienced installer from someone just working down a checklist.
Choosing a Window Frame for This Climate
There's no single "best" window material for every home, but some perform more predictably than others in a shaded, moisture-heavy environment like Sudden Valley.
| Frame Material | Moisture Resistance | Maintenance | Typical Lifespan | Best For |
|---|---|---|---|---|
| Vinyl | Excellent — won't rot or corrode | Low; occasional cleaning | 20-30 years | Most homes prioritizing value and low upkeep |
| Fiberglass | Excellent; very stable in temperature and moisture swings | Low | 30-40+ years | Homeowners wanting a longer-term investment with minimal movement over time |
| Wood-clad | Good on the exterior cladding, but the interior wood core is moisture-sensitive if a seal ever fails | Higher; periodic inspection and finish upkeep | Varies widely with maintenance | Homeowners who want a wood interior look and are committed to upkeep |
| Aluminum | Fair; prone to condensation without a thermal break | Moderate | 20-30 years | Specific architectural styles; less common as a primary residential choice here |
For most Sudden Valley homes, we steer clients toward vinyl or fiberglass specifically because of the shade and moisture profile of the neighborhood. Wood-clad windows can absolutely work here, but we're upfront that they carry a higher maintenance burden in a climate that doesn't give painted or stained wood much of a chance to fully dry out between rain events. That's a trade-off, not a defect in the product — it's about matching the material to the site conditions.
Our Installation Process
1. On-Site Assessment
We look at each opening individually — not just the window, but the condition of the surrounding trim, siding, and framing. Rot or existing water damage changes the scope, and we'd rather find it during the estimate than after demo starts.
2. Product Selection
We walk through frame material, glass package, and grille options based on your home's exposure, your budget, and how long you plan to own the home. There's no one-size answer here.
3. Careful Removal
Old windows come out cleanly, with attention to protecting the surrounding siding and interior finishes. Any hidden rot or damage found at this stage gets flagged and discussed before we move forward.
4. Flashing, Installation, and Insulation
This is where the water-management and air-sealing details described above come together — the step that determines how the window performs for the next two decades, not just the next two years.
5. Trim, Sealant, and Cleanup
Exterior trim is finished, sealant is applied at the correct joints, and the site is cleaned up. We check operation on every window before we call the job done.
What Affects Project Cost
Every home is different, but a few factors consistently move the price of a window project up or down:
| Factor | Why It Matters |
|---|---|
| Number of openings | More windows means more labor and material, but often a lower per-unit cost |
| Frame material and glass package | Fiberglass and upgraded low-E glass cost more upfront than standard vinyl |
| Condition of the existing opening | Hidden rot or out-of-square framing adds carpentry time that isn't visible until demo |
| Access and site conditions | Second-story windows, steep lots, or limited driveway access around Lake Whatcom can affect labor time |
| Trim and finish work | Matching existing exterior trim profiles or repainting takes additional time versus a straightforward swap |
We give real numbers during the on-site estimate rather than a phone quote, because the condition behind the old window is genuinely hard to predict until it's opened up.
Why a Crew That Knows This Neighborhood Matters
Sudden Valley isn't a typical suburban grid. Many properties sit on sloped, wooded lots with limited street access, and a fair number of homes are part of a community association with its own expectations around exterior appearance. A crew that's worked in the neighborhood before knows to plan for tighter driveways and staging areas, understands the shade-and-moisture pattern well enough to recommend the right product without guesswork, and isn't learning the terrain on your dime. That local familiarity translates into fewer surprises during the job and a finished product that's suited to how this specific pocket of Whatcom County actually behaves through the wet season.
Protecting Your Investment After Installation
A properly installed window still benefits from basic upkeep, especially in this climate:
- Clear moss or debris off sills and horizontal trim before it has a chance to hold moisture
- Check exterior caulking annually for cracking or separation, and touch up as needed
- Keep gutters and downspouts clear so runoff isn't sheeting directly across upper windows
- Operate each window a few times a season so hardware doesn't seize up from disuse
- Watch for early condensation between panes — it's the first sign a seal is starting to fail
If your windows are drafty, fogged, or showing rot around the frame, it's worth a look before another wet season sets in. We offer free, no-pressure estimates for Sudden Valley homeowners — walk us through what you're seeing and we'll give you a straight answer on repair versus replacement, no obligation either way.