 Bellingham Roofing
 Birch Bay's Waterfront Setting Is Hard on Siding
Birch Bay sits right on the water, and that waterfront exposure changes how siding ages compared to a home a few miles inland in Bellingham. Wind off the bay drives rain sideways into wall assemblies, salt-laden air accelerates corrosion on fasteners and trim, and the shaded, damp conditions common along Whatcom County's coastline keep siding wet longer after every storm. None of that is unique to any one house — it's simply the trade-off of living where the view is good.
Over time, that combination shows up as failed caulk joints, swollen or delaminating panels, rusted fasteners bleeding through paint, and moss or algae taking hold in shaded corners and north-facing walls. None of it happens overnight, and none of it is a reason to panic. But it is a reason to have siding repair handled by someone who understands what coastal exposure actually does to a wall system, not just what the surface looks like.
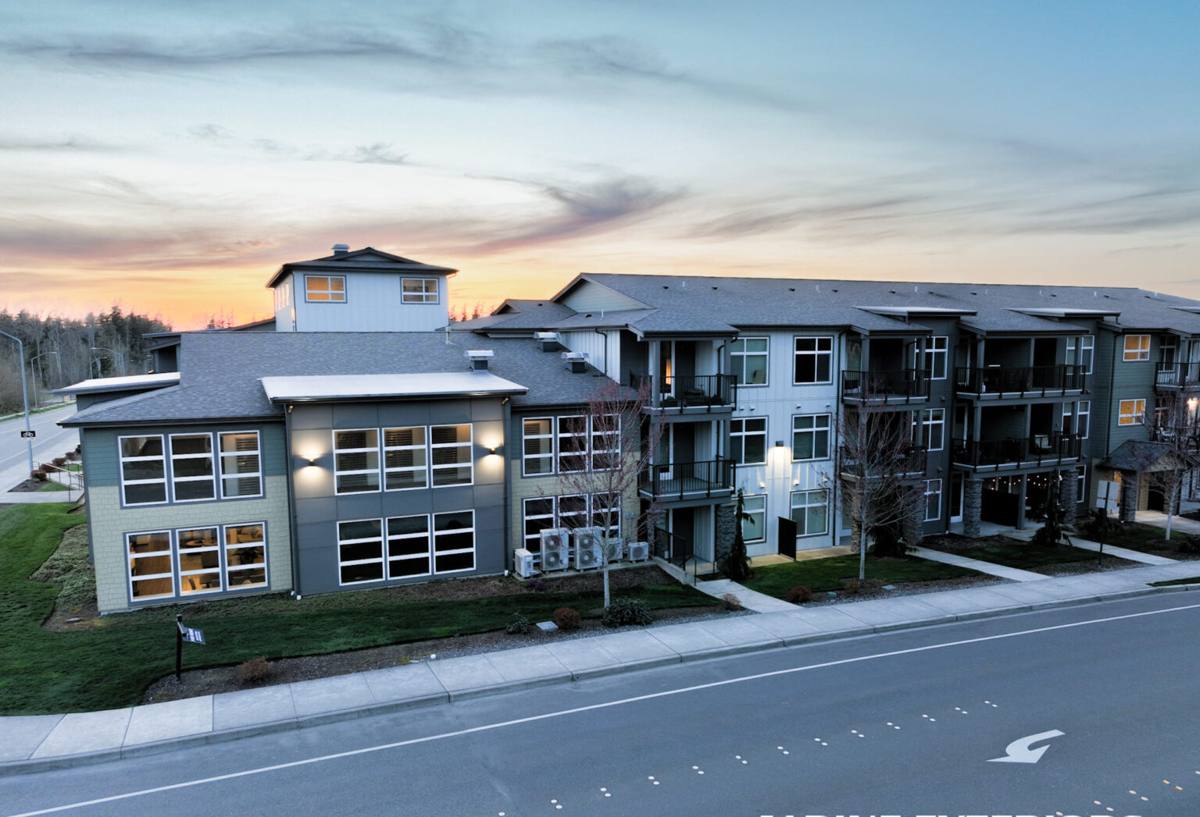
Signs a Birch Bay Home Needs Siding Repair
Most siding problems start small and stay hidden until they aren't. Homeowners near the bay should watch for:
- Soft, spongy, or bubbling spots when you press on the siding, especially near the bottom courses
- Cracked, split, or buckled panels, particularly on the side of the house that takes the most wind and rain
- Rust streaks below nail heads or trim fasteners
- Persistent moss, algae, or black staining that keeps coming back after cleaning
- Gaps opening up at seams, corners, or around windows and doors
- Paint that's peeling, chalking, or flaking faster than it should for its age
- A musty smell or visible staining on interior walls that back up to exterior siding
Any one of these on its own might be minor. Several together, or damage concentrated on the same wall, usually points to a moisture problem that's been building for a while.
What a Correct Siding Repair Actually Involves
It Starts Underneath the Siding, Not On Top of It
Patching visible damage without checking what's happening behind the siding is how the same repair ends up getting redone in a few years. A proper repair means pulling the damaged material, inspecting the weather-resistive barrier and flashing underneath, and confirming the sheathing hasn't taken on rot before anything new goes back up. In a climate like this one, water rarely stays exactly where it entered — it tracks along framing and shows up somewhere else, so the inspection has to go beyond the obviously damaged spot.
Getting the Water Management Right
Flashing above windows, doors, and horizontal trim is what actually keeps driving rain out of the wall assembly — the siding itself is the second line of defense, not the first. If flashing was missing, undersized, or installed backward on the original job, replacing the siding on top of it without correcting that will just set up the next failure. Part of a correct repair is fixing the water management details, not just the cosmetic damage sitting on top of them.
Matching Material and Finish
A repair that's structurally sound but visually obvious isn't a finished job. Matching profile, reveal, texture, and color as closely as possible is part of doing the work right, and it's a real reason material choice matters — some products are far easier to color-match years after original installation than others.
Repair or Replace? What We Weigh
Not every problem calls for a full re-side, and not every problem should be patched. The right call depends on how much of the wall is affected and what's driving the damage.
| Factor | Favors Repair | Favors Replacement |
|---|---|---|
| Extent of damage | Isolated to one wall or a few panels | Spread across multiple elevations |
| Sheathing condition | Dry, structurally sound | Rot found once siding is opened up |
| Age of existing siding | Mid-life, otherwise in good shape | Near or past its expected service life |
| Cause of damage | One-time event (impact, isolated flashing failure) | Systemic moisture or original installation defects |
| Material match | Product still available or closely matchable | Discontinued profile or faded color that won't blend |
We'll always tell you honestly which side of that table your house falls on. A targeted repair that solves the actual problem is the right answer more often than people expect — but only when the underlying cause has been dealt with, not just covered up.
Why We Repair and Rebuild With James Hardie Fiber Cement
We install James Hardie fiber cement exclusively, which shapes how we approach repairs too. Hardie's ColorPlus factory finish is formulated for long-term color retention, and because it's a widely stocked, well-documented product line, matching an existing wall — whether we're patching a small section or replacing storm-damaged courses — is far more consistent than trying to source or blend an older, discontinued vinyl or engineered-wood profile.
Fiber cement also doesn't absorb water the way engineered wood products can, and it won't corrode like metal siding can near salt air. It's non-combustible, holds paint and factory finish well over time, and is manufactured in HZ formulations engineered for wetter, more humid regions like the Pacific Northwest coast. When a repair calls for new panels, we use the same product we stand behind on full installations, backed by James Hardie's transferable warranty — not a mismatched patch that starts aging differently from the first day.
If your home currently has vinyl, LP SmartSide, cedar, or another fiber cement brand, we'll still assess the damage honestly and explain your options. But when repair work opens the door to replacing a full wall or section, we'll walk you through why we'd recommend Hardie for that section going forward — not because the existing product failed you personally, but because of the long-term trade-offs we've seen with moisture behavior, maintenance, and color longevity in this climate.
Our Siding Repair Process
- On-site inspection. We look at the damaged area and the surrounding wall, checking for moisture, soft spots, and flashing issues rather than just the visible symptom.
- Diagnosis of the cause. We identify what let water or damage in — failed caulk, missing flashing, an impact, or age — before recommending a fix.
- Honest scope and estimate. You'll get a clear explanation of what needs to happen, what it will cost, and why, with repair and replacement options laid out plainly.
- Removal and inspection behind the siding. Damaged material comes off, sheathing and barrier are checked, and any hidden rot is addressed before new material goes on.
- Correct water management. Flashing and weather barrier details are fixed or upgraded as part of the repair, not left as-is under new siding.
- Installation and finish matching. New material is installed to manufacturer spec, with profile, reveal, and color matched as closely as the existing wall allows.
- Cleanup and walkthrough. We clear the site and walk the repair with you before calling the job done.
Why Hiring a Crew That Already Works Birch Bay Matters
Siding repair near the water isn't identical to siding repair a few miles inland. A crew that regularly works Birch Bay and the surrounding Bellingham area has a feel for which walls take the worst of the wind-driven rain, how fast moss reestablishes in shaded, damp corners, and what corrosion on fasteners and trim tends to look like at this stage versus further along. That familiarity doesn't replace a proper inspection of your specific house, but it does mean fewer surprises and a repair scope that accounts for the conditions your siding actually lives in, not generic assumptions.
It also matters for follow-through. A contractor who's a known, reachable presence in the area is easier to call back if a question comes up after the work is done — which is worth more than it sounds like when the job in question is protecting the exterior of your house.
Protecting Your Repair Going Forward
A well-executed repair still benefits from basic upkeep, especially in a moss-prone, salt-air environment:
- Rinse siding periodically to clear salt residue, pollen, and organic buildup before it takes hold
- Trim back vegetation and overhanging branches that keep walls shaded and damp
- Recaulk seams and trim joints as they age — caulk fails long before siding does
- Walk the exterior after major windstorms and check for loose or shifted panels
- Address small issues (a lifted corner, a hairline crack) before the next wet season, not after
None of this is difficult, but it's the kind of maintenance that determines whether a repair lasts a few years or the life of the siding.
If you're seeing damage, staining, or soft spots on your Birch Bay home's siding, we're glad to take a look and give you a straight assessment — no pressure, no upsell, just an honest read on what's going on and what it would take to fix it right. Reach out below for a free estimate.