 Bellingham Roofing
 Birch Bay's Waterfront Climate Is Hard on Siding
Birch Bay sits right on the water, and that location is exactly what makes siding decisions here different from siding decisions a few miles inland. Homes along this stretch of Whatcom County take on a combination of stresses that most siding products simply weren't built to handle for the long haul: salt-laden air off the water, wind-driven rain that hits walls sideways instead of falling straight down, and a wet season that stretches long enough to let moss and algae get a real foothold on anything with texture or grain.
Salt Air and Corrosion
Airborne salt doesn't just affect metal railings and hardware near the beach — it settles on siding surfaces, works into seams and fastener heads, and accelerates the breakdown of finishes that aren't engineered to resist it. Over years, that means chalking, fading, and premature failure at the most exposed elevations of a home, usually the sides facing the water and prevailing wind.
Driving, Wind-Driven Rain
Birch Bay gets weather straight off the Salish Sea with very little to slow it down first. Rain here often arrives at an angle, not straight down, which means it gets pushed into laps, joints, and butt seams that would stay dry on a more sheltered inland lot. Siding and the water-resistive barrier behind it have to work together to shed that water, not just tolerate it.
A Long Moss Season
Whatcom County's wet season runs long, and shaded, north-facing walls near mature trees stay damp for weeks at a stretch. That combination of moisture and shade is exactly what moss, algae, and mildew need to take hold. Siding with any real texture or a finish that holds moisture gives them a place to grow; a hard, factory-cured finish gives them almost nothing to hold onto.
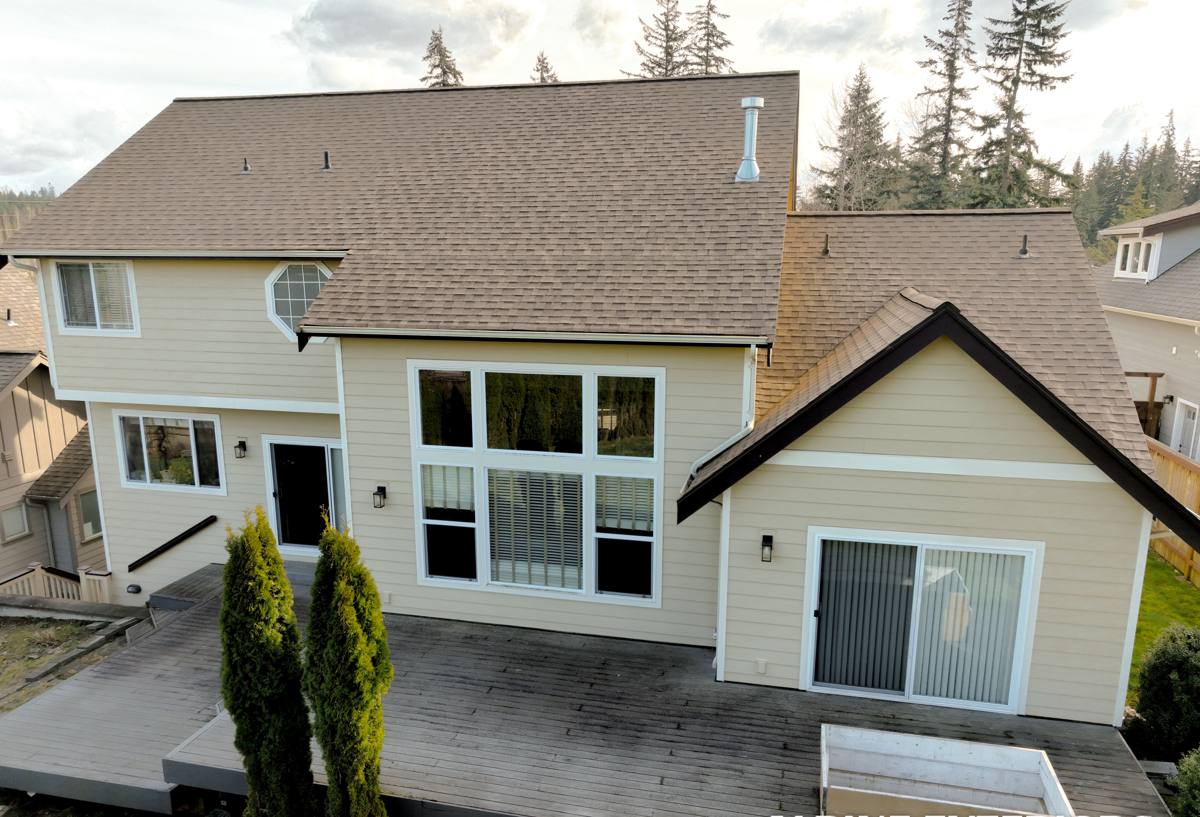
What Birch Bay Homes Actually Need From Their Siding
Put those three factors together — salt, wind-driven rain, and prolonged dampness — and the requirements for a Birch Bay home's exterior become pretty clear. The siding needs a finish that resists fading and chalking from salt exposure, a water-management system behind it that handles moisture intrusion rather than hoping it never happens, and a surface that doesn't feed moss and mildew growth. It also needs to survive freeze-thaw cycles without swelling, cracking, or delaminating, since Whatcom County winters bring cold snaps on top of all that moisture.
This is the same reasoning that shapes how we approach every project on this coastline, and it's why we don't treat siding as a one-size-fits-all product. A siding system that performs fine in a dry inland climate can fail years early on a waterfront lot in Birch Bay.
Why We Install Only James Hardie Fiber Cement
We install James Hardie fiber cement siding exclusively — not vinyl, not LP SmartSide, not primed wood, and not competing fiber cement brands. That's a deliberate standard, not a lack of options. Fiber cement itself is a mix of cellulose fiber, cement, and sand, pressed and cured into a dense, stable board. Done right, it doesn't rot, it doesn't feed insects, it's non-combustible, and it holds its shape through wet and dry cycles far better than wood-based or vinyl products. James Hardie is the manufacturer we trust to deliver that performance consistently, backed by a product line actually engineered for climates like this one.
Built for This Climate: HZ5 Engineering
James Hardie engineers its siding by climate zone, and the Pacific Northwest falls into their HZ5 category — formulated specifically for regions with high moisture exposure and freeze-thaw cycling. That's a meaningful distinction for a home in Birch Bay, where the board isn't just dealing with occasional rain but near-constant humidity and salt air for much of the year.
ColorPlus Factory Finish
Most of the fading, chalking, and touch-up painting that plagues site-painted siding comes down to one thing: field-applied paint can't match a factory finish for durability. James Hardie's ColorPlus finish is baked on under controlled conditions in multiple coats, which gives it far better resistance to UV and salt-driven fading than anything applied with a brush or sprayer on-site. For a home facing the water, that finish life difference is not cosmetic — it's the difference between repainting in five years and not thinking about it for a long time.
What a Correctly Installed Job Actually Involves
Fiber cement siding is only as good as its installation. The board itself resists rot and fire, but a sloppy install can still let water behind it, and once water gets behind any siding, the sheathing and framing pay the price — not the siding. A correct job includes a continuous weather-resistive barrier behind the boards, properly lapped and taped seams, flashing at every window, door, and roof intersection, and fastener placement that follows Hardie's published spacing and clearance requirements exactly.
Cut edges need field-applied touch-up paint before installation, since a raw cut exposes the board's core to moisture. Boards need proper clearance from grade, decks, and roof lines so water can't wick up from below. Caulking gets used at specific joints, not as a blanket fix for gaps that should have been trimmed correctly in the first place.
| Where Shortcuts Commonly Happen | What Correct Installation Looks Like Instead |
|---|---|
| Fasteners driven too close to board edges or over-driven | Fasteners placed per manufacturer spec, seated flush without crushing the board |
| Siding installed tight to grade, decks, or roofing | Proper clearance gaps maintained at every transition to let water drain and boards dry |
| Cut ends left unpainted | All field cuts sealed with touch-up paint before the board goes up |
| Housewrap gaps or missing flashing at penetrations | Continuous water-resistive barrier with flashing integrated at every opening |
| Caulk used to hide gaps from poor fitting | Tight-fitting cuts with caulk used only where the manufacturer calls for it |
Our Process for Birch Bay Siding Projects
- On-site assessment. We walk the exterior, check the condition of the existing siding and sheathing, and look specifically at wind and water exposure on each elevation — waterfront and west-facing walls usually need extra attention to flashing and drainage.
- Tear-off and inspection. Once old siding comes off, we inspect the sheathing underneath for rot or moisture damage before anything new goes up. Problems found here get addressed, not covered over.
- Water-resistive barrier and flashing. A continuous drainage plane goes on first, with flashing detailed at every window, door, and penetration.
- Hardie installation. Boards are installed to manufacturer specification for fastening, clearance, and joint treatment, in the HZ5 product line appropriate for this climate.
- Final walkthrough. We review the finished job with the homeowner and address any punch-list items before calling it complete.
Living With Fiber Cement Siding in a Salt Air, High-Moss Environment
James Hardie siding is low-maintenance compared to wood or vinyl, but "low-maintenance" isn't "no-maintenance" — especially this close to the water. A little routine attention keeps it performing the way it's designed to for decades.
- Rinse the exterior with a garden hose once or twice a year to clear salt residue and airborne grime, especially on water-facing walls.
- Keep gutters and downspouts clear so runoff doesn't sheet down the siding face during heavy Whatcom County rain events.
- Trim back vegetation and tree cover where possible to cut down on the shade and moisture that feed moss growth on north-facing walls.
- Check caulked joints around windows and trim annually and re-caulk any that have cracked or pulled away.
- Touch up any nicks or scratches that expose bare board promptly, rather than letting them sit through a wet season.
- Avoid pressure washing directly at the siding — a gentle rinse is enough, and high-pressure spray can force water behind boards or damage the finish.
Why a Crew That Already Works Birch Bay Matters
Siding installation isn't identical on every lot, and a crew that already works this stretch of Whatcom County brings something a traveling or one-time contractor can't: familiarity with how wind, salt exposure, and rain direction actually behave on waterfront and near-waterfront homes here, and what that means for flashing details and clearance decisions on-site. It also means knowing the local permitting process, working efficiently around Birch Bay's seasonal weather windows, and being reachable afterward if a question comes up — not just for the length of one job, but for the life of the siding.
What Fiber Cement Siding Costs in Birch Bay
Every home is different, so exact pricing depends on a site visit, but the same handful of factors drive cost on most projects. Understanding them up front makes it easier to get an accurate, apples-to-apples estimate.
| Cost Factor | Why It Matters |
|---|---|
| Total square footage | More surface area means more material and labor, the largest single driver of overall cost |
| Tear-off and sheathing condition | Removing old siding and repairing any water-damaged sheathing adds time before new siding can go on |
| Trim and detail complexity | Homes with more corners, windows, and architectural detail take more time to flash and finish correctly |
| Number of stories and accessibility | Taller walls and tight or waterfront-adjacent access can require additional staging and time |
| Siding profile and color selection | Lap width, shingle-style panels, and ColorPlus color choice can affect material pricing |
Because Birch Bay's climate is harder on siding than a typical inland location, it's worth treating this as a long-term investment rather than shopping purely on the lowest bid. A correctly installed James Hardie system costs more upfront than vinyl but avoids the repainting, patching, and early replacement cycles that lower-cost materials often run into on this coastline.
If you're weighing your options for a home in Birch Bay, we're happy to take a look and walk you through what we'd recommend for your specific walls and exposure. The estimate is free, there's no pressure, and you'll leave the conversation with a clear picture of the work and the cost — just fill out the form below to get started.