 Bellingham Roofing
 New-Construction Windows in York: Getting It Right Before the Siding Goes On
York is one of Bellingham's established neighborhoods, and like most of the city it's seeing a steady mix of infill new-builds, additions, and full teardown-rebuilds alongside its older housing stock. New-construction window installation is a different job than swapping out an old window in an existing opening. There's no old frame to reference, no history of how the wall has performed, and no second chance once the siding and trim close everything up. The window has to be set into a raw rough opening, tied correctly into the weather-resistive barrier (WRB), and flashed in a sequence that actually sheds water the way the wall assembly was designed to. Get that sequence wrong, and the mistake doesn't show up at closing — it shows up two or three wet winters later, usually as a stain on a sill or a soft spot in the framing that costs far more to fix than it would have to do right the first time.
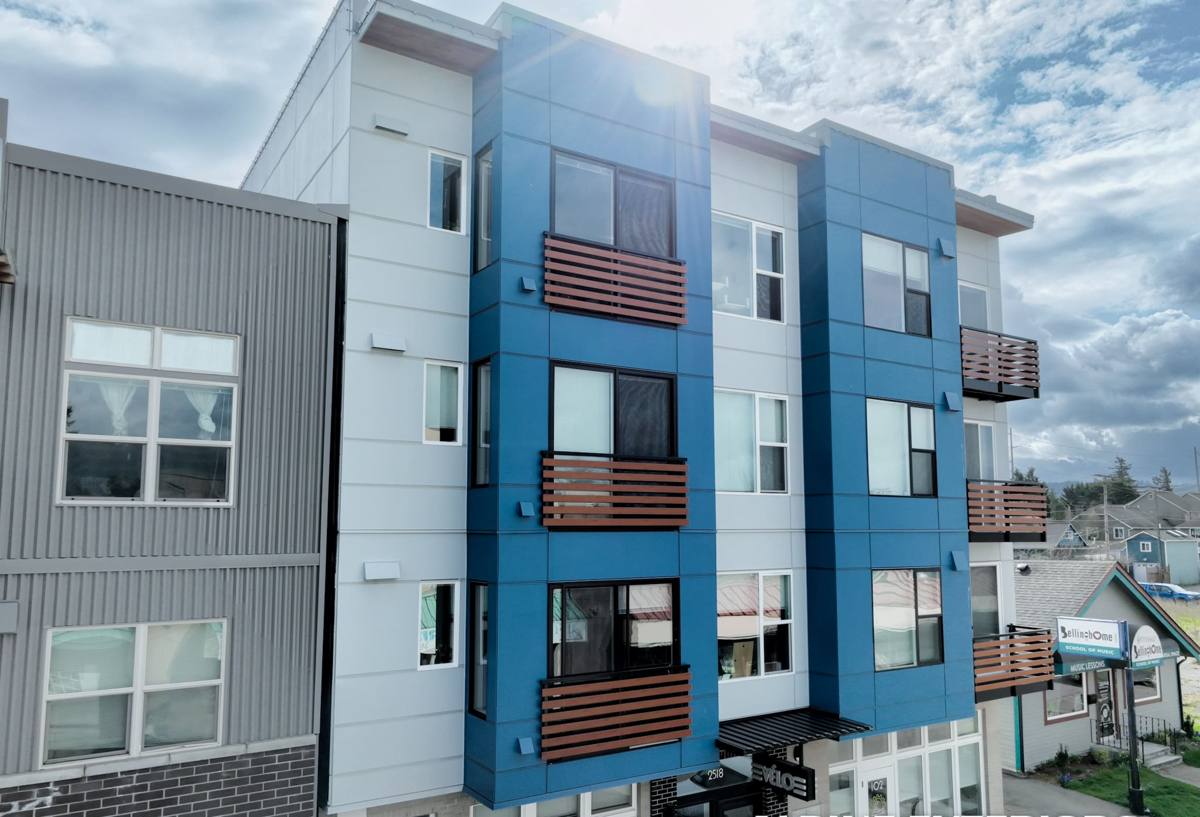
Why Bellingham's Climate Changes What "Correct" Means
Whatcom County sits right on the water, and that shapes how a new-construction window needs to be installed, not just what window gets picked. A few things about our climate matter more here than they would in a drier inland market:
- Salt air: Proximity to Bellingham Bay and the Salish Sea means airborne salt reaches hardware, fasteners, and metal flashing well before it would in a landlocked town. Untreated or mismatched metals corrode faster, and corroded flashing stops shedding water long before it looks obviously bad.
- Driving rain: Storms here don't just fall straight down — wind pushes rain sideways against walls, which means it finds any gap in a flashing lap, any reverse-sloped sill, or any window taped out of sequence. A detail that would get away with sloppy work in a calm-rain climate won't get away with it here.
- Long moss season: Extended damp, low-light stretches keep shaded trim, sills, and adjacent siding wet for days at a time. That moisture load doesn't just grow moss — it keeps wood-based trim and sheathing at higher moisture content for longer, which is exactly the condition that turns a small flashing gap into rot.
None of this means new-construction windows are harder to get right in York than anywhere else. It means the margin for error is smaller, and the installer's attention to sequencing matters more than it would in a milder climate.
What a Correct New-Construction Window Install Actually Involves
A new-construction window is typically a nail-fin unit set into a framed rough opening before or during the siding phase. The window itself matters less than the sequence it goes in with. Done correctly, water is directed out and down at every layer, with nothing relying on caulk alone to do the work.
Sill Pan and Drainage Plane
The rough opening sill should have a sloped or pan-style flashing under the window before it's ever set, so any water that gets past the window drains back out to the exterior rather than sitting on raw framing. This is the detail that gets skipped most often on a rushed job, and it's the one that matters most in a wet climate.
Weather-Resistive Barrier Integration
The window's flanges need to be integrated into the WRB in the correct shingle-lap order — sill first, then sides, then head — so every layer overlaps the one below it. Housewrap taped on backwards, or a head flap installed before the side flanges are lapped, will actively funnel water into the wall instead of around it.
Shimming, Fastening, and Squaring
A window that's out of square or fastened without proper shimming will bind, leak at the corners, and wear its weatherstripping unevenly within a few years. Manufacturer fastening schedules exist for a reason — skipping shims or over-driving fasteners can bow a frame just enough to compromise the seal, even on a high-quality window.
Sealant as Backup, Not Primary Defense
Sealant has a service life, and it's the first line to fail as a building settles and the sun and salt air break it down. A correctly flashed window sheds water even after the sealant eventually needs to be refreshed. A window that depends on a perfect bead of caulk to stay dry is one deferred failure away from a problem.
Choosing a Window Type for a York-Area Build
Material choice affects how a window holds up against salt air, moisture, and our wide seasonal humidity swings. There's no single right answer for every project — budget, the home's design, and the builder's specs all factor in — but here's how the common options compare for this climate specifically:
| Material | Moisture / Salt-Air Behavior | Maintenance | Typical Cost Tier |
|---|---|---|---|
| Vinyl | Good moisture resistance, doesn't corrode; can expand/contract more with temperature swings | Low — no painting or sealing needed | Lower |
| Fiberglass | Very stable dimensionally, holds up well to salt air and humidity cycling | Low, can be painted if desired | Mid to upper |
| Aluminum-clad wood | Attractive exterior durability, but any breach in the cladding exposes wood to moisture | Moderate — interior wood finish and joint monitoring | Upper |
| Bare aluminum | Prone to condensation and faster corrosion in salt-air coastal settings | Higher — hardware and finish need more attention | Lower to mid |
We don't push one brand or material on every job. Our role is to walk through what the design calls for, what the budget allows, and what will actually hold up on this particular site, then install whatever's chosen correctly.
Our Process, Start to Finish
- Rough opening check: Verify the opening is square, correctly sized, and sheathed before any flashing goes in — catching framing issues here is far cheaper than after the window is set.
- Sill pan and flashing install: Set sloped sill flashing and prep the WRB laps in the correct order for that specific wall assembly.
- Window set, shim, and square: Set the unit, shim to manufacturer spec, and confirm it's plumb, level, and square before fastening.
- Fasten per manufacturer schedule: Follow the fin-nailing pattern the window manufacturer specifies — not a shortcut version.
- Complete WRB and flashing tape integration: Lap and tape the head flashing last, over the housewrap, so the whole system sheds outward and down.
- Interior air seal: Seal the interior gap between frame and framing for energy performance and to control condensation risk.
- Final exterior trim and sealant: Trim out and apply sealant as the backup layer it's meant to be, not the primary defense.
- Walkthrough: Confirm operation, look, and fit before we consider the job done.
What Drives Cost on a New-Construction Window Job
| Factor | Why It Matters |
|---|---|
| Number and size of openings | More openings and larger units mean more flashing detail work and labor time, not just material cost |
| Window material and glazing package | Vinyl, fiberglass, and clad-wood price differently, and upgraded glazing for energy or sound performance adds cost |
| Opening complexity | Bay windows, corner windows, and odd-shaped openings take more flashing and framing coordination than a standard rectangular opening |
| Timing in the build schedule | Installing windows at the correct point — after sheathing, before siding — avoids rework; installing out of sequence often costs more later |
| Site access and staging | Multi-story builds or tight lots can add time for staging and material handling |
Coordinating With Your Builder or GC
New-construction window work almost always happens inside someone else's schedule — a general contractor's framing and siding timeline. Windows need to go in after the wall is sheathed and the WRB is up, but before siding closes everything in. Get that timing wrong and either the crew is working around exposed framing in the rain, or windows go in late and hold up the rest of the exterior trades. We coordinate directly with builders on timing, and we flag any framing or sheathing issue we see before it gets buried behind a window flange, because that's the point where it's still cheap to fix.
A Short Checklist Before You Hire Anyone for This
- Ask specifically about their sill-pan and flashing sequence — not just "do you install windows," but how they flash them.
- Confirm they follow the window manufacturer's written fastening and installation instructions, since that's often tied to the manufacturer's warranty.
- Ask how workmanship warranty is handled separately from the window manufacturer's product warranty.
- Check they're licensed and insured for the work, and comfortable coordinating directly with your builder's schedule.
- Ask whether they've done new-construction installs recently, not just replacement work — the sequencing skills are different.
Why a Crew That Already Works York Makes a Difference
A crew that regularly works in and around Bellingham has already seen how wind-driven rain behaves against different wall orientations in this area, how long moss-season dampness lingers on shaded elevations, and what salt air does to hardware and flashing metals over a few winters. That's not something you learn from a manual — it's pattern recognition from doing the work here repeatedly. It also matters for the long run: if a warranty question or a settling issue comes up two years after the build, a local crew is easy to reach and has a record of exactly what was installed and how.
If you're building or finishing a home in York and want windows installed the way this climate actually requires, we're happy to walk the plans or the site with you. Reach out for a free, no-pressure estimate — we'll tell you plainly what the job needs and what it'll cost.